Hello lovelies!
Today I thought I’d give you all a little peek into my silversmithing work – I don’t do this often enough, really. This is Part 1 of a 2-Part series about the very special – and unique! – wedding jewellery I made for a crafty friend recently.
Today, I’m going to show you how I created a sterling silver diamond pendant, which formed the centrepiece of the bride’s necklace.
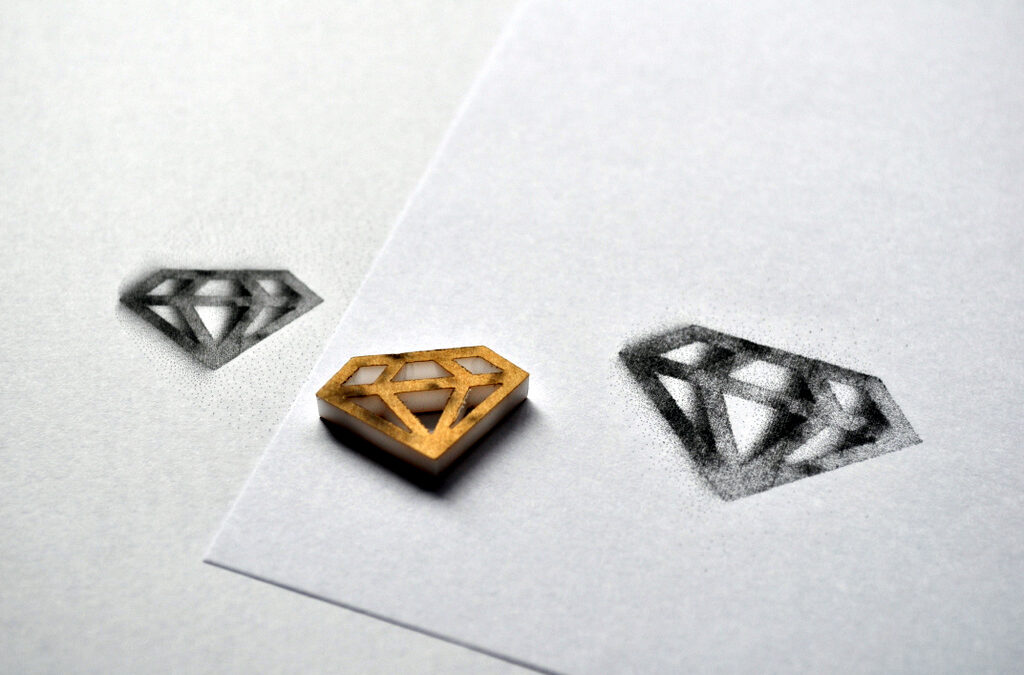
I started with a laser-cut diamond that was to form the centrepiece of the bridesmaids’ necklaces. However, we wanted the bride’s silver diamond to be bigger. So, I photocopied the laser-cut version, then enlarged it!

The next step was to trace the diamond design – very carefully! – onto tracing paper.


Once that’s done, I cut out around the diamond, so I had a little piece of paper.

Gotta make sure it looks nice and even!

Now, to glue the tracing paper down onto the sterling silver sheet! I use coloured glue so I can see where I put it, then I put the silver sheet under something heavy to help flatten the paper down and glue it nice and firmly, so it won’t slip while I’m working on it.


After leaving it to dry for a little while, it’s time to start! The first step is to pull off the excess paper, so it doesn’t get in the way.
Then, I drill a hole in each section that I am going to cut out. This allows me to insert my jewellers saw blade through the hole so I can cut out the shapes. That’s why this is called ‘piercing’.


Voila! The first section is cut out.

Now, to cut out around the outside, so the extra silver doesn’t get in the way, and continue cutting out each piece.

Finally – all the pieces are cut out, and we’re left with the final (albeit still rough) shape!

Now we need to get rid of all the rough edges – time to peel off the no-longer-needed tracing paper, and break out the jewellers files…

Finally, after some sandpaper treatment, we have the finished product!
A lovely sterling silver diamond pendant.

Next week I’ll show you where this pendant ended up, as well as sharing the rest of the jewellery I made for this wedding.
***
Want more Epheriell-y goodness? Subscribe to Epheriell Designs! Also, you can follow me on Twitter!
Love this! Such an intricate process…id be worried about sawing my fingers off hehe
thanks for sharing – lots of patience required with the sawing – cant wait to see the finished piece!
WOW! Great post–I always wondered how this was done. Thanks for sharing your process–I look forward to PT II!
Fascinating, Jess! You must have such steady hands for those tiny fiddly bits.
Your post today reminded me of my metalwork classes in year 7 and 8, except that we used cheap metals so that it didn’t matter if we made a mistake, LOL.
Ooooo thankyou for the sneak peak!!
Mxoxoox
thanks for sharing this jess. i love seeing the processes that people use to create. (funny, i listed a ‘process’ post on my blog about blockprinting… part 2 will hopefully be up this week :))
i was intrigued with how tiny that saw is you use & how delicate your work is. well done 🙂
Great tremendous things here. I am very satisfied to peer your article. Thank you so much and i am taking a look forward to contact you. Will you please drop me a e-mail?