Hello lovely peeps! My name is Lita and I am so excited to be able to join you here today on Epheriell Designs, and share some eco-friendly craftiness with you!
I used to work for a large charity in their retail stores, and was amazed by the overwhelming volume of goods donated each day. It boggled my mind to think that if so much was being donated to us, then just how much was simply being thrown away?
I’ve always been a big believer in ‘One man’s trash is another man’s treasure’ and really wish more folks would embrace that way of thinking. I’m a big fan of upcyling and giving old goodies new life, and I think one fantastic way to do that is through our crafty endeavours. So I’m here today to show you how to make these cute flowers using upcycled sewing patterns.
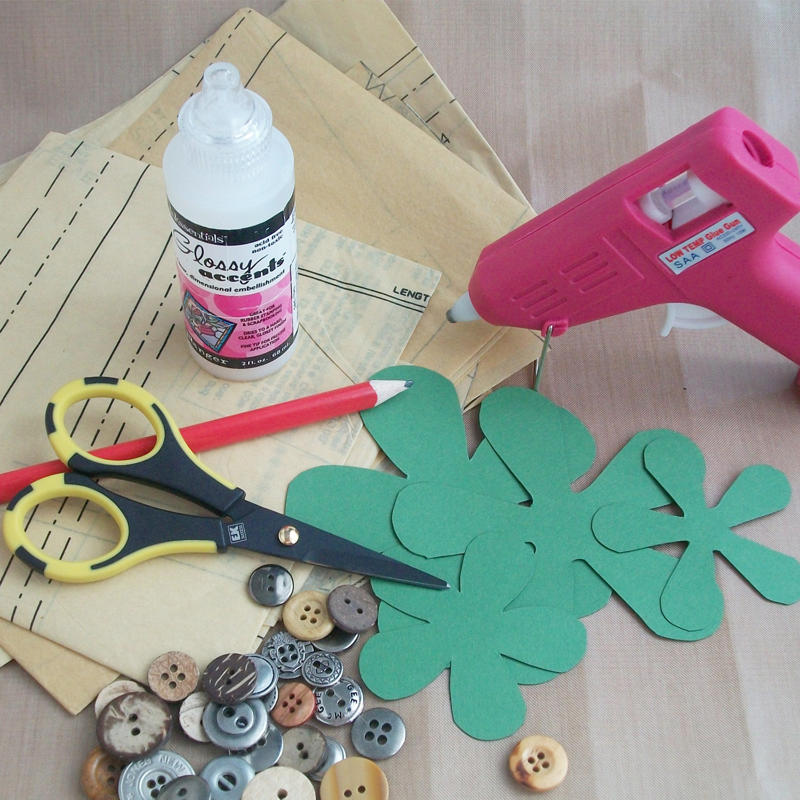
What you’ll need:
• Sewing patterns – raid grandma’s old sewing supplies or pick some up from your local thrift store. You could even use tissue paper saved from old gifts.
• Scissors
• Glue – any type will do as long as it’s not too wet or it may make a mess of your paper
• Buttons
• Hot glue gun – I used this to adhere my buttons, but you could easily do this with any other strong glue
• Flower shapes – these can be created using a paper punch, stencil or cut freehand. I googled retro flower & found some perfect shapes, printed them onto cardstock & used them as stencils
• Ink or a homemade dye using tea or coffee
1. Once you have your shapes cut out, ink or dye the tips of around half of them, to add a bit of interest once they are assembled. I use a blending tool, but you could easily use a makeup sponge, paintbrush, or even just a cotton bud. If using a tea or coffee dye, take care as too much liquid may tear the paper.
2. Assemble your flowers by layering them with a small drop of glue between each. Be sure to rotate each layer so that they are not perfectly aligned.

3. Continue until you have the desired amount of layers – for my small flowers I used 7, and for my larger I used 14. Attach buttons to the center of each flower.
4. Once completely dried, scrunch flowers as much or as little as you want, and then gently unfold again. This adds texture, creating a fuller look.
And there you have it – quick, simple flowers to use as you wish! These are perfect for dressing up gifts or handmade cards and so many other crafty ideas. Attach some pipe cleaners or wire for stems and create a bouquet, or why not add them to some twine to make a sweet garland. The only limit is your imagination!
***
Lita is passionate about many crafts such as crochet, scrapbooking and beading, and particularly enjoys sharing her love for all things paper via her blog Artful Fancies. When not creating, she is busy running around after her 2 daughters, mad fiance and OCD kitty cat.


What a great idea! They look fantastic!
So cute. And they don’t look too hard… Maybe…
A super easy tute (off now to drag out those old patterns that I’ll more than likely never use!!)
Love it… gives me an idea on how to use my scraps of fabric. Thanks!!
What fun! I use patterns for wrapping. Have wanted to make some flowers. These are simple! Thank you!
Diane
PS: Found you on Crescendoh!
Oh freakin *squee*!!
I have been trying to find something to replace the Merry Christmas bunting I have had to take down… I just did! Heart it, thanks!
Love this!! featured it on my blog, here: http://punkprojects.blogspot.com/2011/01/make-it-monday_24.html
-Katie
Wowwwww, great tutorial, can’t wait to work with this sewing patterns. I think I have a lot of them upstairs;-). Thanks for sharing this!!!!!
Hugs,
Ellen
Nice idea. Thank you for the wonderful tutorial.